Virtualizing pfSense Firewall on Synology DSM Virtual Machine Manager:
-
So, if you are like me and you have applications like Plex or VPN that you need to be able to reach outside of your home you want a powerful firewall to secure your home environment. There are very few solid, secure, and affordable firewalls for home use.
pfSense Community Edition is comparable to enterprise solutions like Palo Alto and best of all, it is free. A paid technical support plan is available if you chose to purchase it but there are a lot of good support forums out there as well as instructional videos which is normally enough to get you up and running.
One thing to keep in mind. When you perform updates that require the DSM to reboot, your internet will go down as well. I find the convenience and security to be a good trade off and just plan the updates,
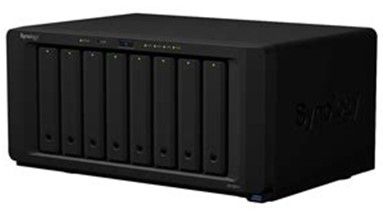
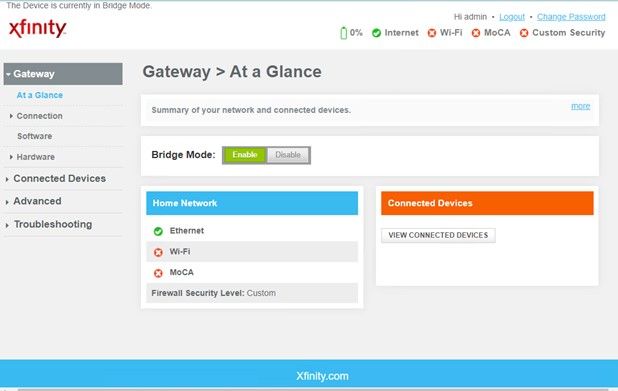
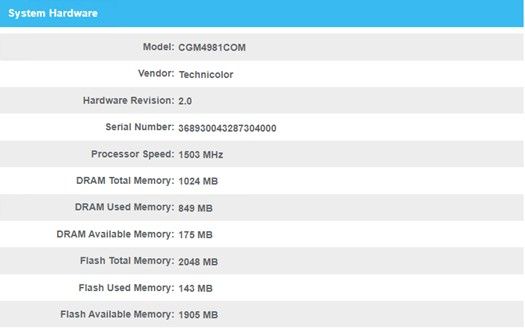
Before we get started, I want to mention there are many ISP’s out there as well as several models of Synology NAS. I am running the Synology DS1821+ using an Xfinity provided DOCSIS Modem model CGM4981COM running in Bridge Mode (Passing the public IP address to the pfSense firewall).
The Synology NAS device is an ideal solution for storage and virtualization. I was able to move my Plex Media server and its media files to a single device as well as my OpenVPN and router / firewall device to this single device. Additionally, the DS1821+ allows for expansion to add more drive bays should you fill up the 8 provided disk bays (up to 18 total disks).
Getting pfSense to work correctly on the Synology hardware is a bit tricky. My DSM1821+ includes 4 RJ-45 1GbE LAN Ports which is ideal for this.


Configuring Synology Virtual Machine Manager to run pfSense Firewall:
Before you attemptt to install pfSense on your Synology NAS you will need to make a couple of adjustments to the network interfaces to ensure your device is secure. Below is my configuration. I bonded LAN 1&2 which are plugged into my home network switch. This is the interface all of my home devices use to access files, Plex media, etc. Bonding the interface can increase performance as well as keep it connected should one of the bonded interfaces fail.
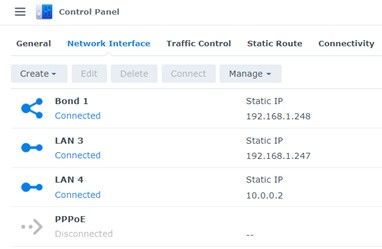
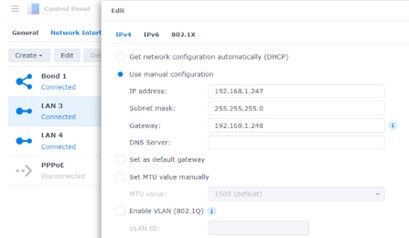
LAN 3 is also connected to my home network switch and you may notice it has a 192.168.1.247 IP Address 1 off from the bond. So technically, I could also access the services and admin interface using that address. Ideally, you would not want IP addresses on the interfaces used for pfSense. You would want to assign IP addresses to the Virtual Interfaces within pfSense.Unfortunately, Synology forces you to have either a static IP address or a DHCP address on the interface. If you do not assign one, it gets a default 169 IP address. You should NEVER use DHCP on Synology interfaces you intend to use for the pfSense firewall. The reason for this is that WAN interface will pull the public IP address from the modem to the NAS, pfSense will never get it, and your device will be exposed to the internet.
When I started trying to do this, I searched tirelessly for a way around this and there really wasn’t one. I was unable to find any good articles from people who got it to work.
For the LAN interface I used a LAN IP making the DSM Bonded interface the gateway. Keep in mind, this is only a DSM IP Address and will not be used by pfSense.
For the WAN interface LAN 4 I used 10.0.0.2 with the gateway IP of the management interface on the Xfinity modem (10.0.0.1). Xfinity modems come with a private IP Network for managing the modem over a web browser. This network is ONLY accessible from your home network.
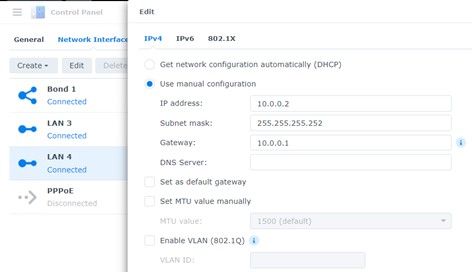
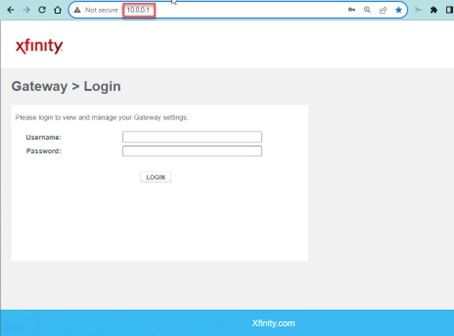
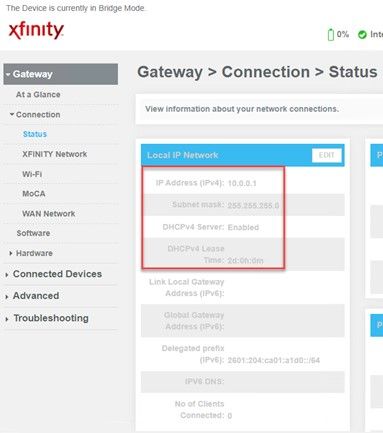
You will notice though that unlike the modem which uses a subnet mask of 255.255.255.0, the LAN 4 interface I configured with a subnet mask of 255.255.255.252. There is a very good reason for this. Again, the gateway address for LAN 4 is the management interface on the modem (10.0.0.1). LAN 4’s IP Address is 10.0.0.2. By using a 255.255.255.252 subnet mask, I was able to reduce the network size to 2 IP’s, the one on the modem, and the one on LAN 4. This allows me to meet the DSM requirement of having an IP Address on the interface and my requirement for security. Only those 2 IP’s can talk to each other.
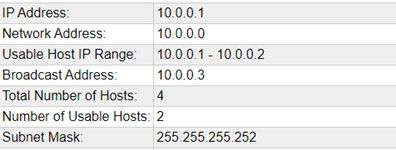
Depending on your ISP and the hardware you are using you may be able to do this. If not, since DSM does not allow you to use 255.255.255.255 (a network of only 1 IP Address) you will still want to use the smallest network size possible (2 IP addresses), so use something similar to what I have above using 255.255.255.252 as the subnet mask.Depending on the model of your NAS, you may have only 2 interfaces. In this instance your LAN interface used to manage the DSM and access resources will also act as your LAN adaptor for pfSense. You will need to create a Virtual Switch for your WAN interface as well.

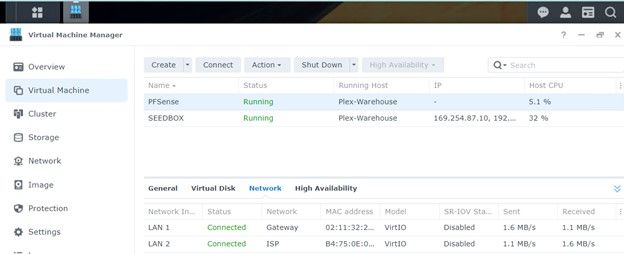
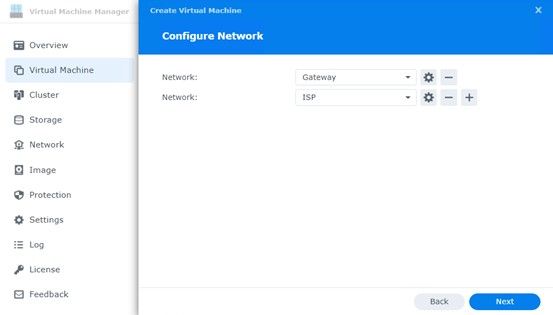
In my example I have 1 for the Bonded interface, 1 for the LAN Gateway interface, and 1 for the ISP interface. Again, this may vary depending on your hardware.
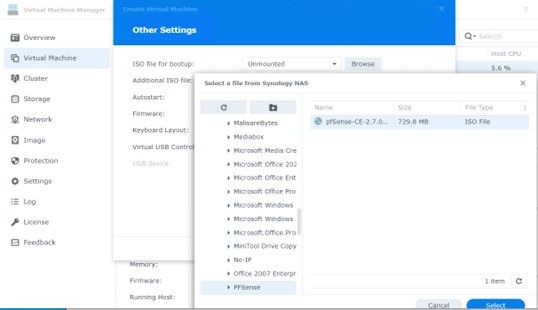
Before you begin you will need to download the ISO you will mount with your VM’s CD ROM. You can download the ISO here:
https://www.pfsense.org/download/
Do not worry that the architecture says AMD64, this installer also works on Intel.
For ease of installation download the file to a location on the NAS device.

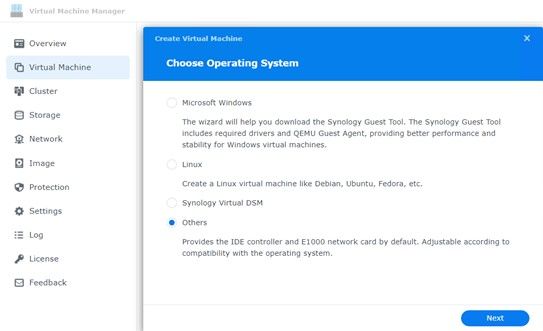
Once you have the image downloaded you will need to create the Virtual Machine. The OS for pfSense is FreeBSD which is a Unix Kernal. Here are the settings I used. I have read that Linux works as well but as it is Unix, I wanted to be safe.
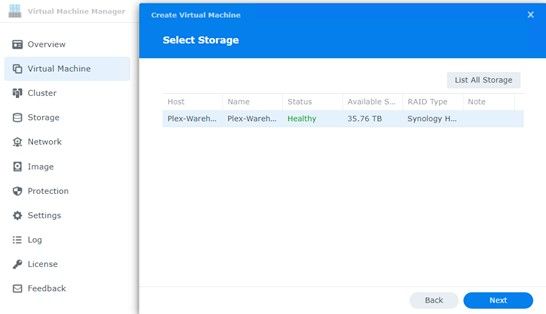
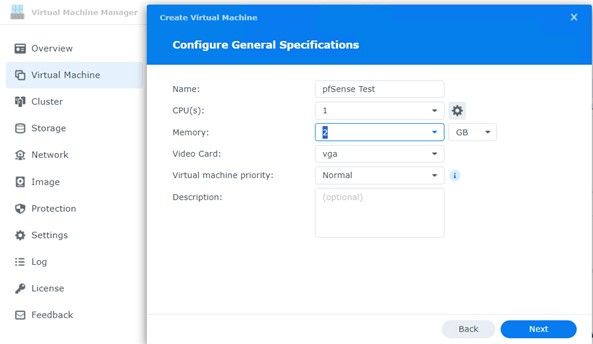
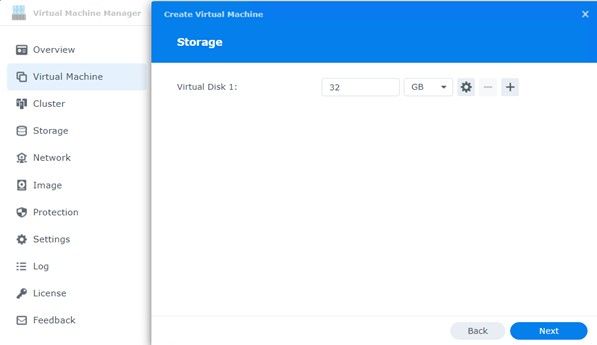
Before you install the ISO image for pfSense, choose the adaptors you configured. You will of course need at least 2 (LAN / WAN).
Here you will browse to the ISO image you downloaded.
Once you power on the VM you will want to connect to the console to perform the installation.

Begin installation:
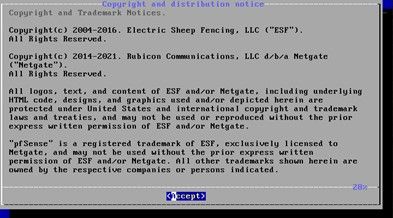
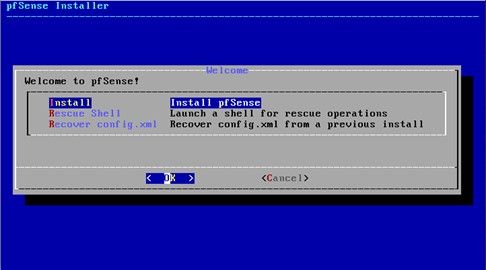
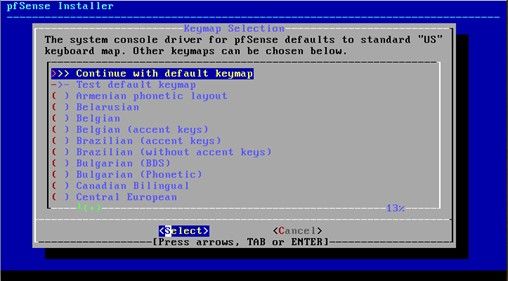
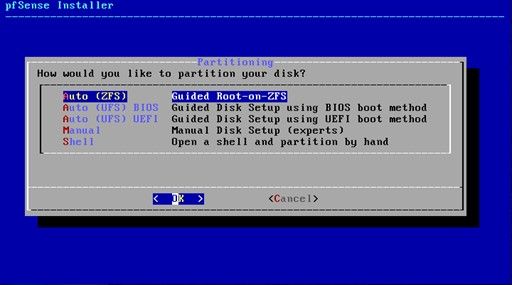
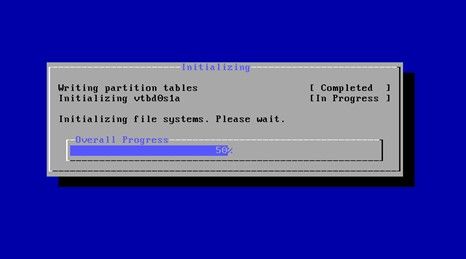
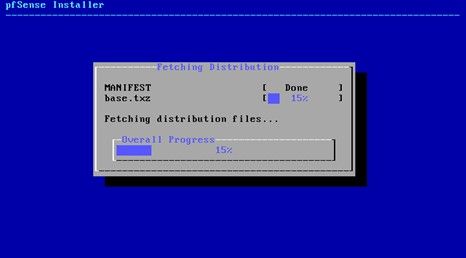
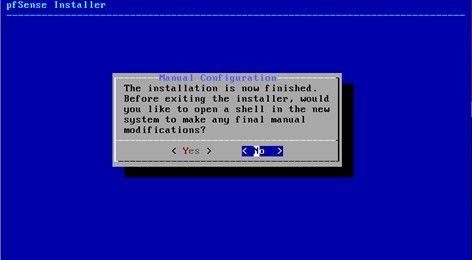
Before rebooting return to your VM Settings and clear the ISO image from your boot up sequence.
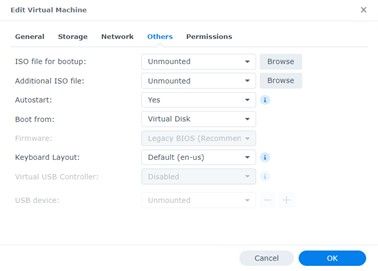
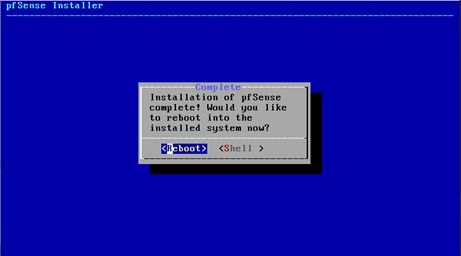
Once rebooted connect from your console to configure username, password, and network settings.
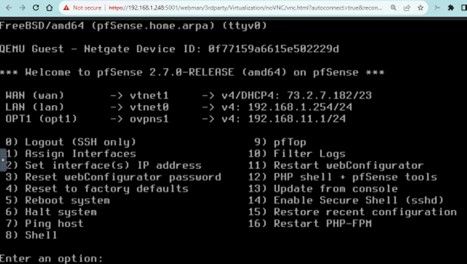
This can be tricky and take a couple of tries to get right but once complete you should be able to connect to the LAN IP address and configure the firewall.
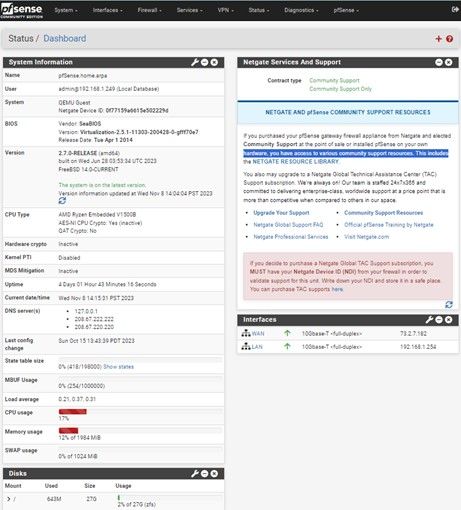
Once you are able to log into your firewall and configure it to your needs you will want to perform some testing to verify security and functionality.
Test your LAN configuration to make sure DHCP and DNS are configured properly.
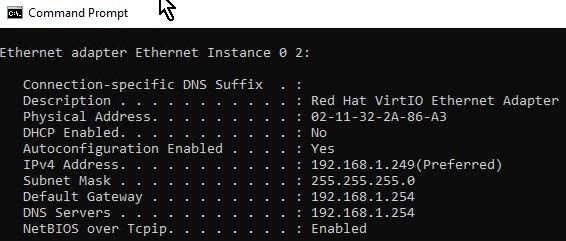
If you are using Dynamic DNS, test and verify functionality.
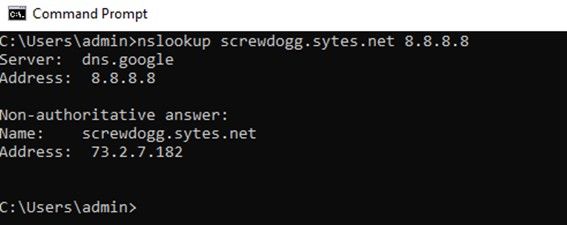

Most importantly, your DSM management console is not accessible from the internet. That is what VPN is for.
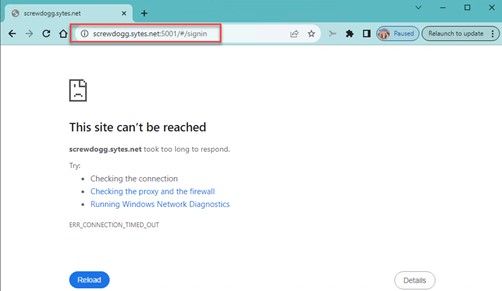
Using a VPN or Cellular connected device try to browse to the public facing address port 5001 to verify your firewall blocks this access.
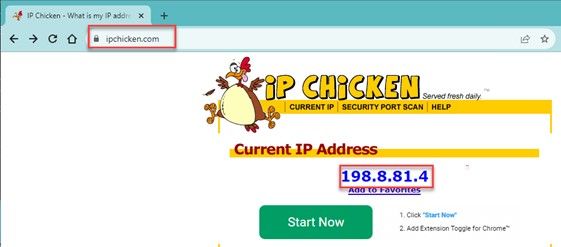
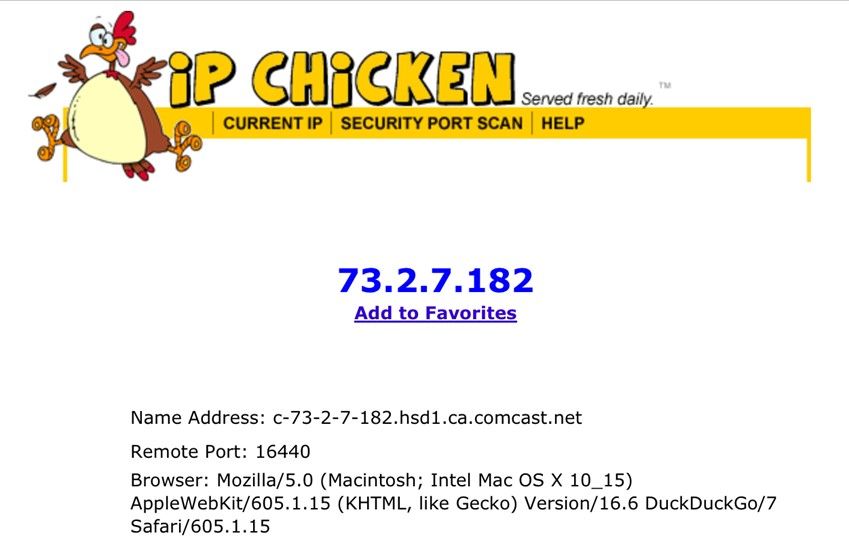
Next navigate to whatsmyip or ipchicken to see what your test devices IP is.
Now examine your firewall logs to verify it is seeing the traffic and blocking it.

So far, so good.
Let’s take a look at our public facing apps (OVPN, Plex, Web).
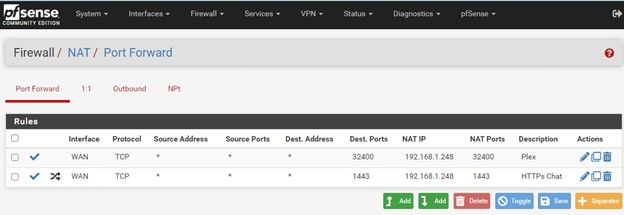
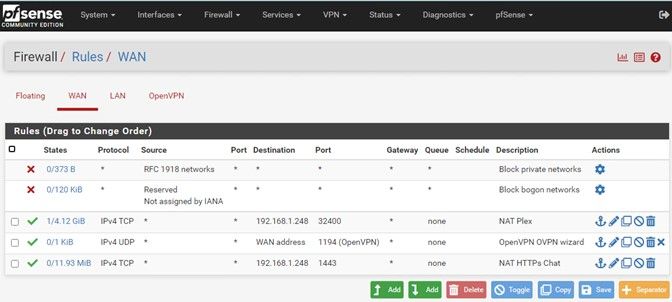
Again, from a VPN or Cellular device attempt to connect to the public facing apps to verify they are accessible.
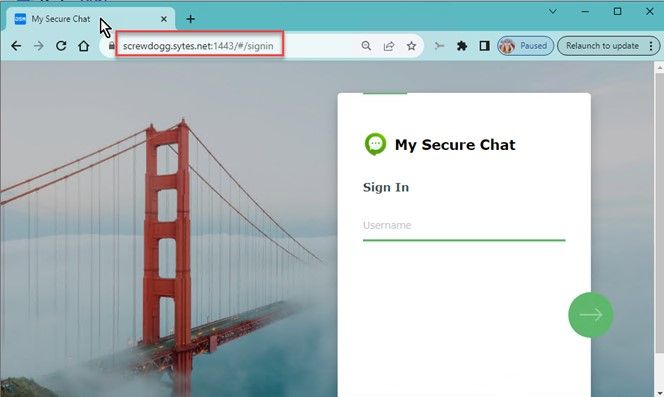
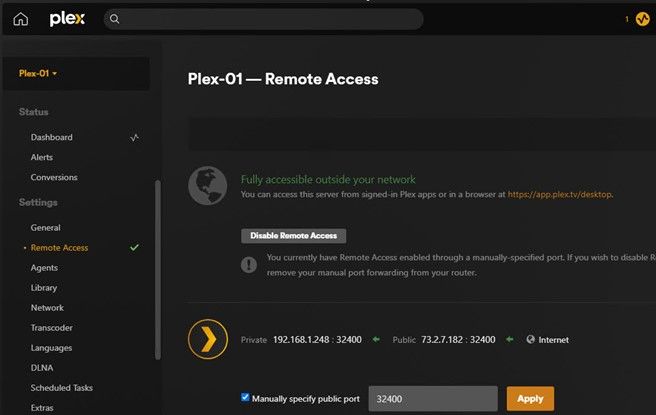
And finally, if you are using it, let’s test OVPN. This time only from a cellular connected device.

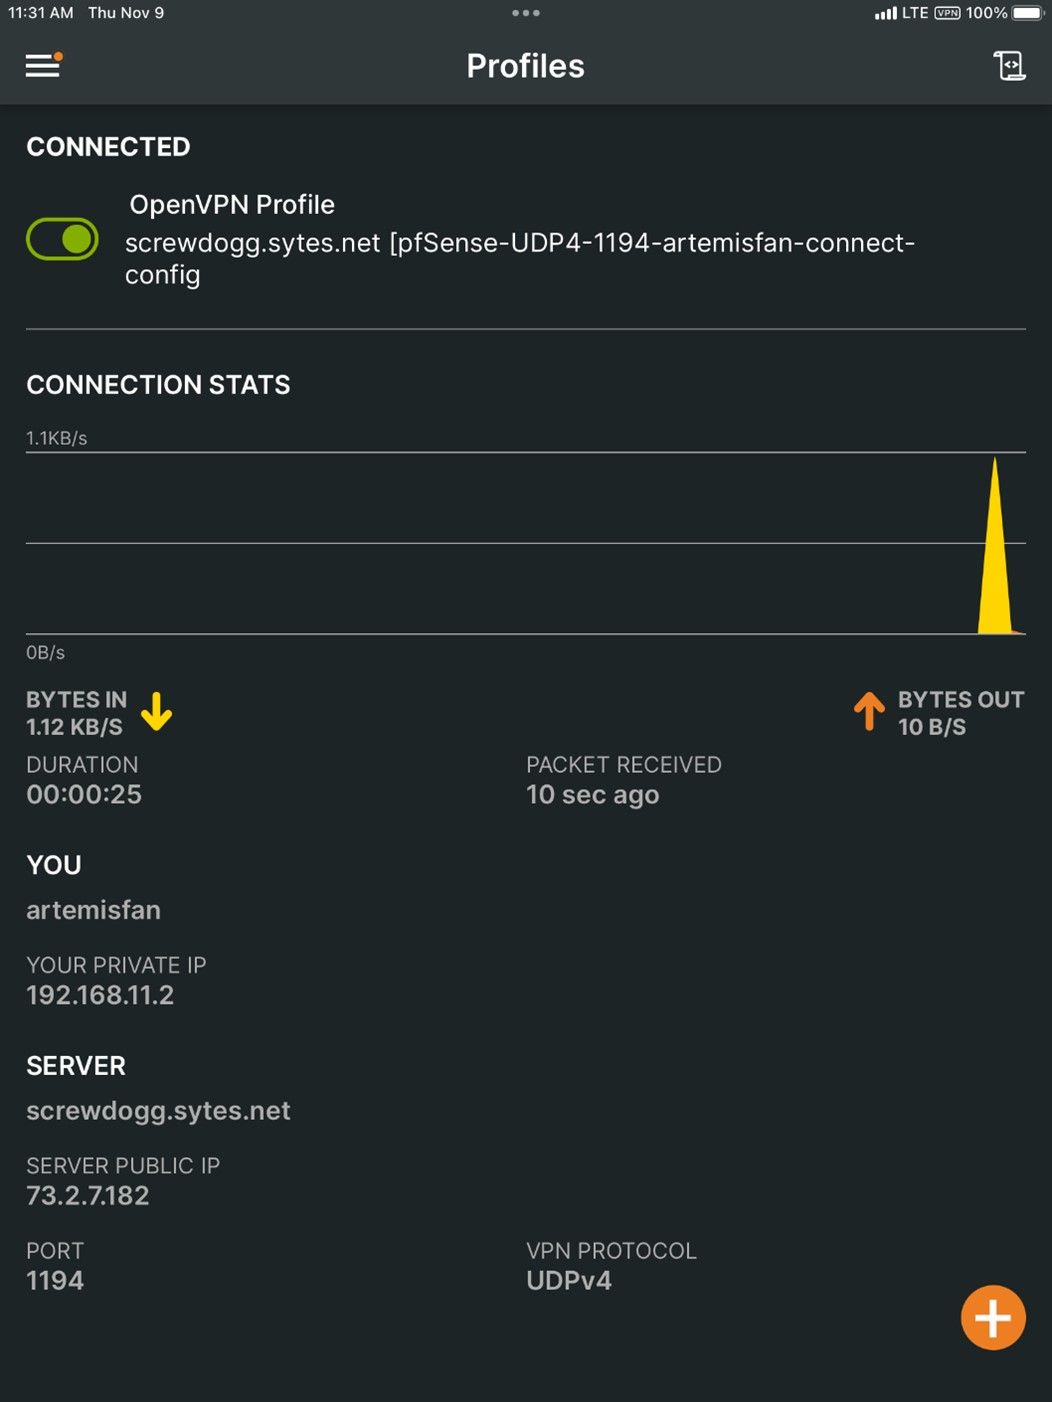

Verify from your VPN connected device you are tunneling through the VPN.
-
@ARTEMISFAN Congrats...please mask your WAN IP.