Official pfSense hardware customer photos / network pics porn!
-
My Home network distribution center at basement.
SG-4860-1U

-
2440 with power switch (stops customers just pulling the power) and external sim holder for sim card.
P.S. if any one wants an external sim holder PM me. (you'll have to pay postage). :)
-
…I built a smart mirror in his bathroom with a bunch of widgets on a monitor behind interrogation glass. (I'll get some pictures if requested)...
Yes please..
-
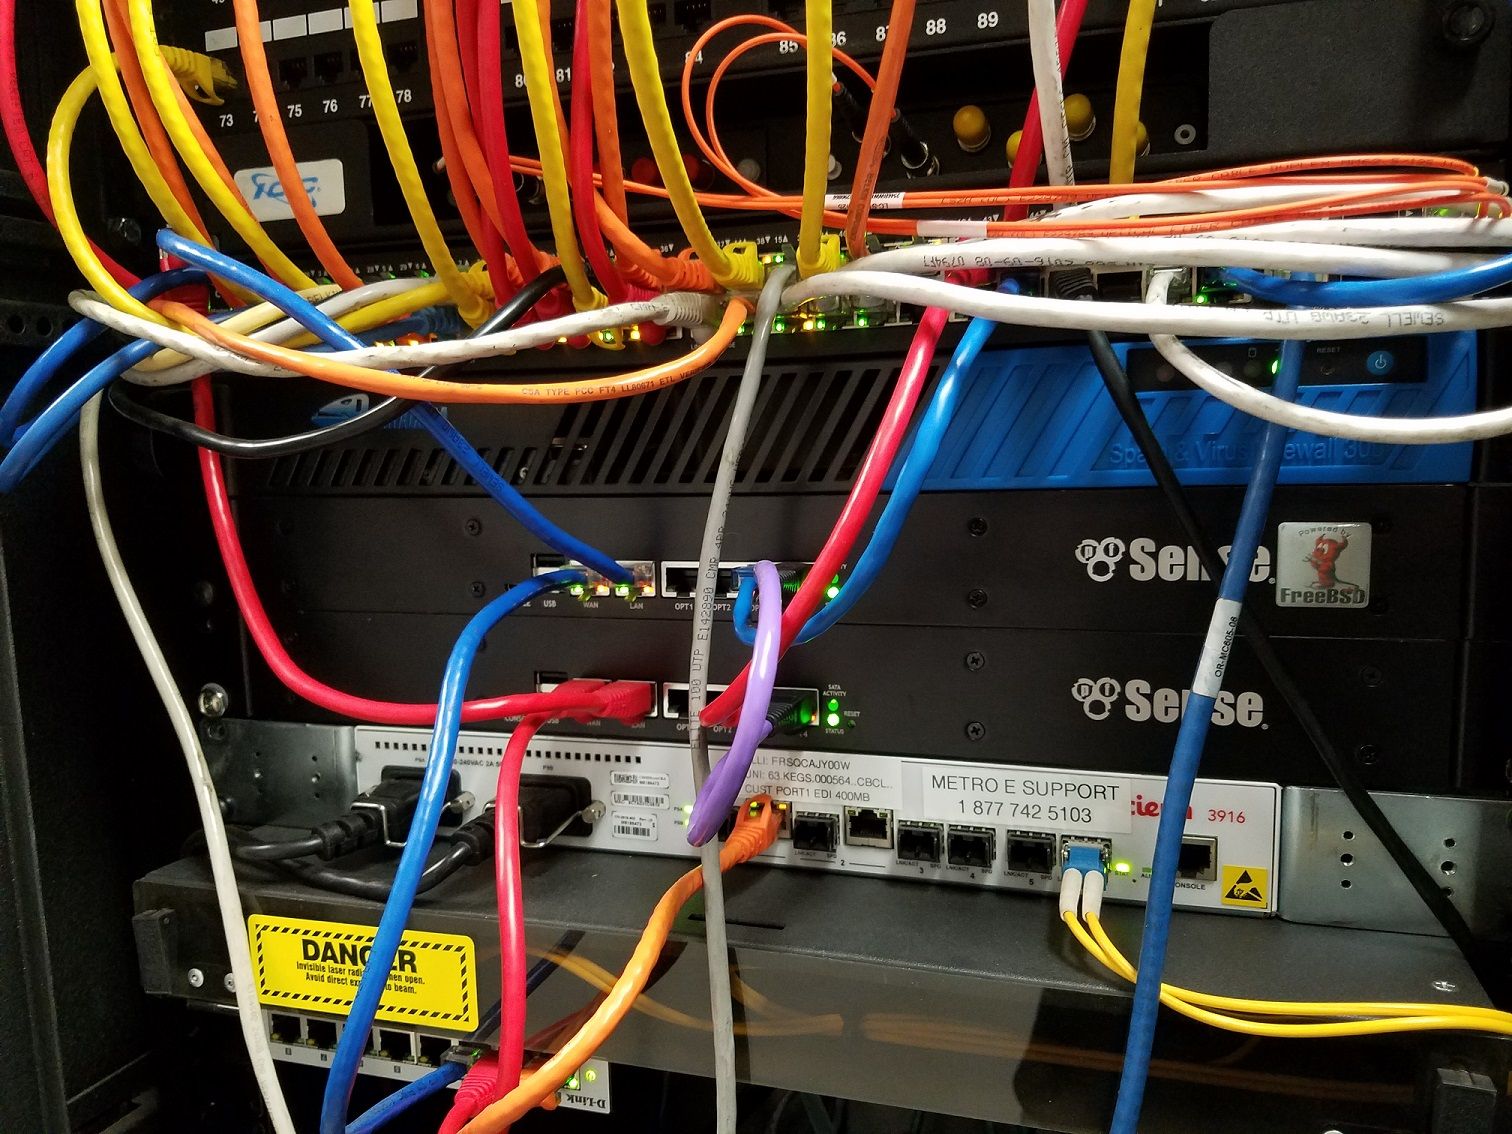
I usually install APU boards, but in this instance, I knew there were going to be multiple WAN connections. This system is serving 31 rooms in a student accomodation building. Each room has an in-wall access point, with their own VLAN. Each VLAN has a slice of network bandwidth available.
All of the Syslog data is sent to the bottom box in the rack, and is saved to the USB stick. I then have a server sat in AWS which connects on a nightly basis and downloads the logs from the USB drive.

-
…I built a smart mirror in his bathroom with a bunch of widgets on a monitor behind interrogation glass. (I'll get some pictures if requested)...
Yes please..
I acquired a 30"x30" sheet of one-way interrogation glass from our company's glass supplier. I bought a 27" asus monitor and ripped the front bezel off. I applied a liberal amount of liquid nails between the bezel-less chassis and the screen to make sure it wasn't going anywhere. I did this to get the screen as close to the glass as possible.
I needed a way to mask ambient light from bleeding through the back of the glass, so I used 3M vinyl wrap that's use for car decaling. I smoothed it across the glass, making sure to be careful of air bubbles.
I measured the space where the monitor is planning to go in relation to the standoff locations, then mounted a small flat wall mount for the monitor. I put the mirror on the mount and glass on the wall, then marked the wrap where the top of the monitor hit the glass.
Using that as reference point, I traced the outline of the monitor on the vinyl, and then marked a second set of lines 1/2" inside of the first. Using a straight edge and a razor blade, I gently cut the vinyl and peeled away the inside.
After that, I just had to put the monitor back on the mount, and the glass back on the standoffs, and we're ready to roll.
The video source is a Chromebit in kiosk mode. It points to a local ubuntu wordpress VM. I made a custom theme and added a bunch of generic widgets.
I've made three of these mirrors now, the largest having a 43" 4k tv behind it. If anyone has any interest in more details, feel free to PM me. It was fun figuring out how to do this, and after three, I've got the process down.
-
On the smaller scale:
SG-1000 portable solution, VPN via 4G, on battery - for the world of IoT

-
what sort of run time do you get on that battery?
-
Around 16 hours, depending on 4G network drain (tower distance, uploads).
-
…I built a smart mirror in his bathroom with a bunch of widgets on a monitor behind interrogation glass. (I'll get some pictures if requested)...
Yes please..
I acquired a 30"x30" sheet of one-way interrogation glass from our company's glass supplier. I bought a 27" asus monitor and ripped the front bezel off. I applied a liberal amount of liquid nails between the bezel-less chassis and the screen to make sure it wasn't going anywhere. I did this to get the screen as close to the glass as possible.
I needed a way to mask ambient light from bleeding through the back of the glass, so I used 3M vinyl wrap that's use for car decaling. I smoothed it across the glass, making sure to be careful of air bubbles.
I measured the space where the monitor is planning to go in relation to the standoff locations, then mounted a small flat wall mount for the monitor. I put the mirror on the mount and glass on the wall, then marked the wrap where the top of the monitor hit the glass.
Using that as reference point, I traced the outline of the monitor on the vinyl, and then marked a second set of lines 1/2" inside of the first. Using a straight edge and a razor blade, I gently cut the vinyl and peeled away the inside.
After that, I just had to put the monitor back on the mount, and the glass back on the standoffs, and we're ready to roll.
The video source is a Chromebit in kiosk mode. It points to a local ubuntu wordpress VM. I made a custom theme and added a bunch of generic widgets.
I've made three of these mirrors now, the largest having a 43" 4k tv behind it. If anyone has any interest in more details, feel free to PM me. It was fun figuring out how to do this, and after three, I've got the process down.
That is really awesome!
-
Have some cable management to work on… But my shiny new sg4860 is in operation.. Have not moved all my vlans off of opt1 to the other interfaces - project for xmas break.
Its so nice to be on official hardware finally vs the VM.. I will miss the ability to take snapshot when playing with dev snapshots, etc. But I will just play with dev stuff on the VM that will be downstream..
Loving it...

-
Just backup the config. It's almost as fast to recover (discounting package reinstallation)
My edge is a 4860 desktop. Workhorse.
-
1 of many….. ;D ;D ;D
How do you like that pfSense SG4860-1u? I am thinking of getting one for home..
-
Well, now that everyone's pictures but mine are deleted I win by default?
-
hehehe... Good one @ikkuranus but I think they are working on bringing the pics back... I sure hope so many threads don't make a lot of sense without the pics.
-
I made a few changes from my setup last year.
I upgraded to a deeper rack with a few more rack units of space to accommodate a Dell Powerconnect 5524p and to hold my HPE Microserver g10 NAS. The primary goals for this upgrade were for 802.3af and 10gbe to several devices. ( I have a second switch that can be stacked with the first for an additional 2x sfp+ ports)
I'm still using the Netgear CM600, Netgate 2440, and Rpi3 model B but the pi will be repurposed shortly after I virtualize FreePBX. -
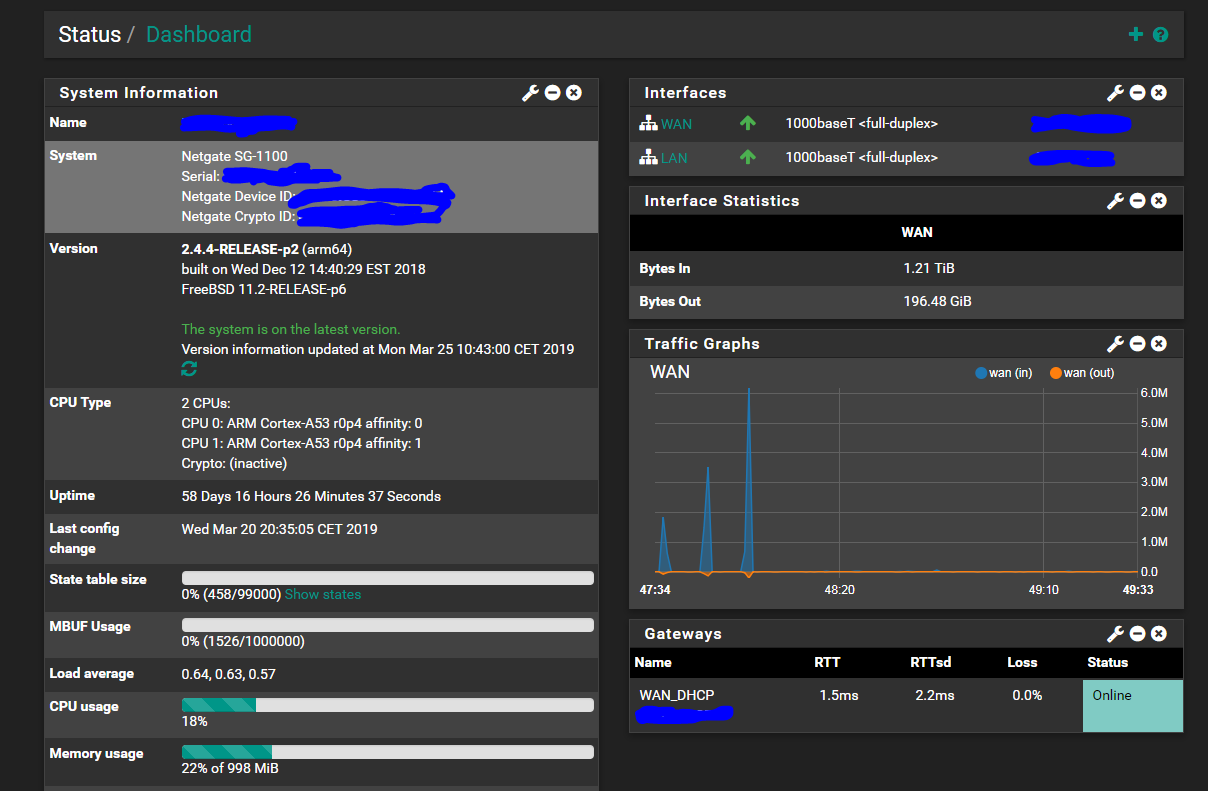
I will attach hardware photos here a bit later.. But i must say it feels wonderful to have a router working flawlessly again since i had problems with my old one recently (hardware bought via Aliexpress). The new Netgate hardware uses half the power the old hardware did and manages my 117/17 Mbit fibre connection flawlessly. Running 2 OpenVPN tunnels too without any issues and always full speed on the tunnels :)
Uptime is 58 days now (i recieved the hardware 58 days ago.. But since i have to shut it down to move some cables soon this uptime will be no more..)
-
@Taz79 said in Official pfSense hardware customer photos / network pics porn!:
I will attach hardware photos here a bit later.
What's taking so long?
-
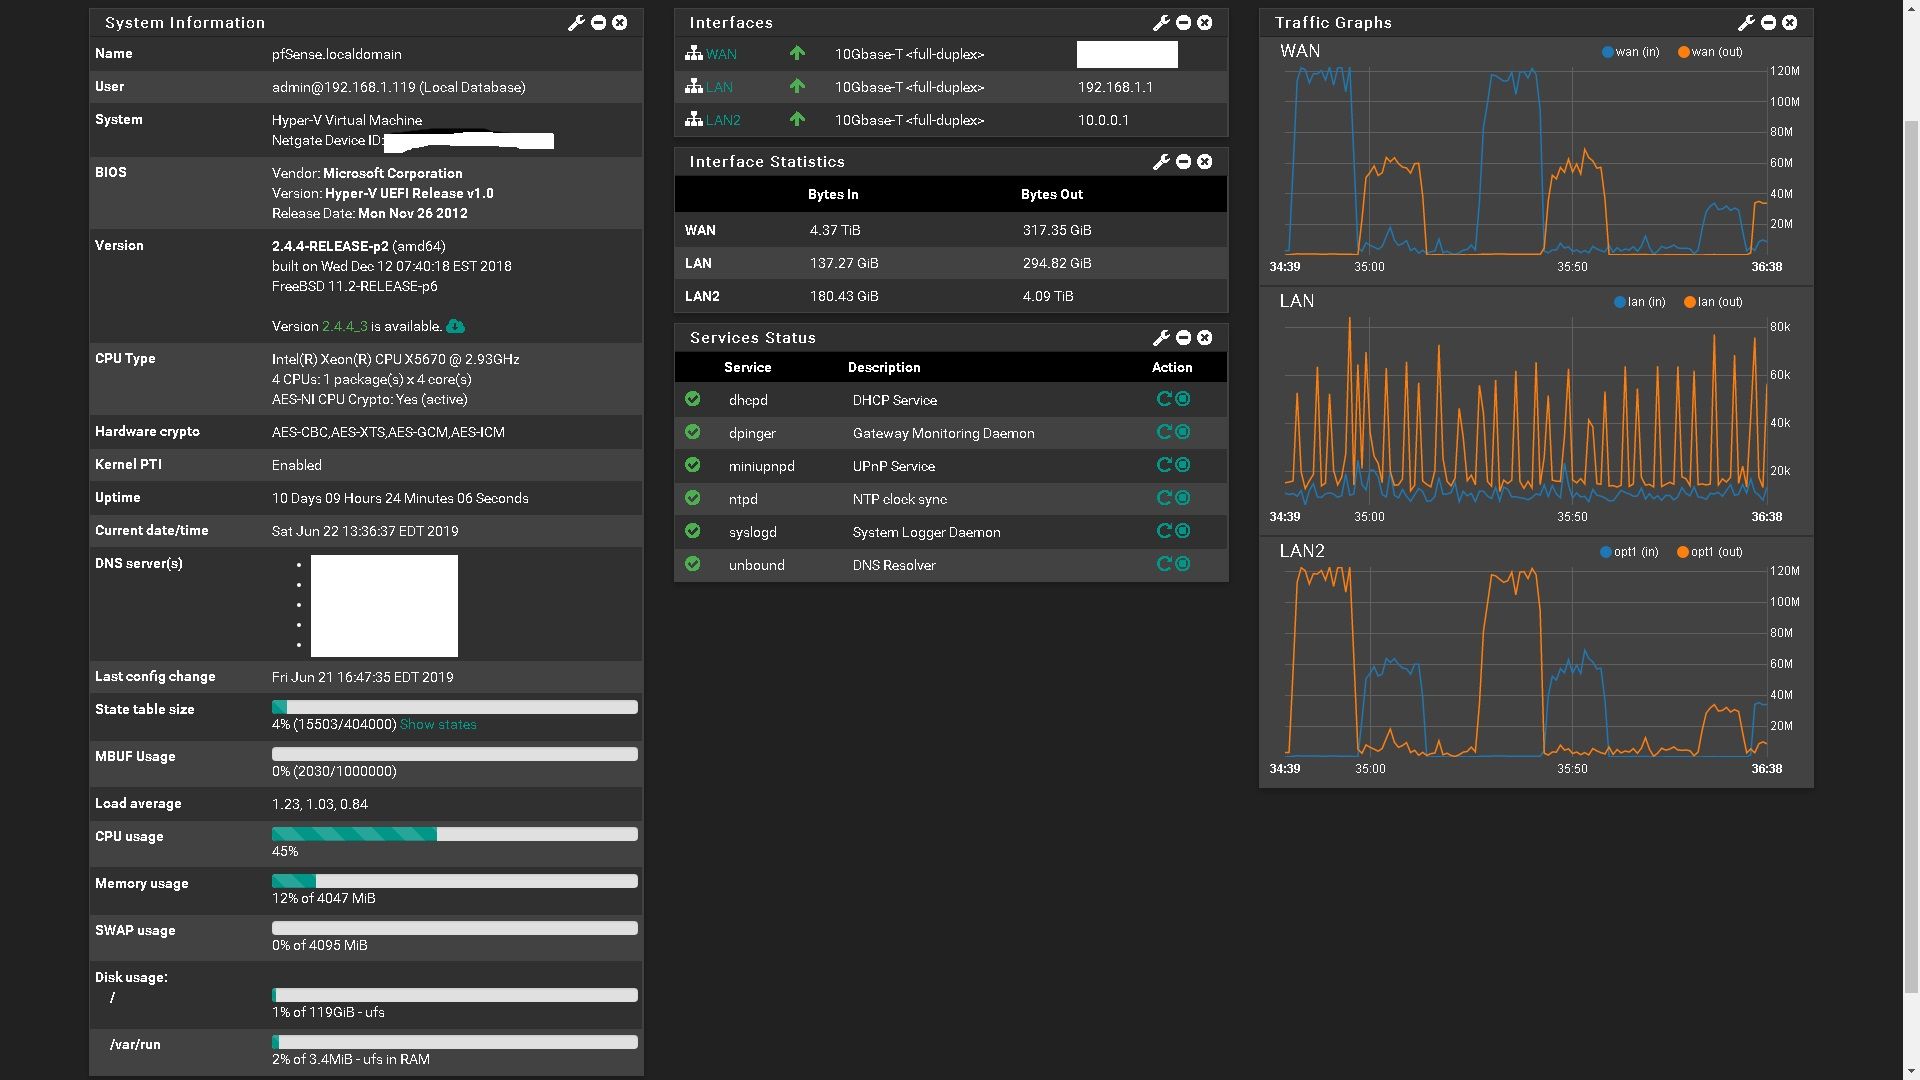
DOH! My apoligies not offical HW....... -
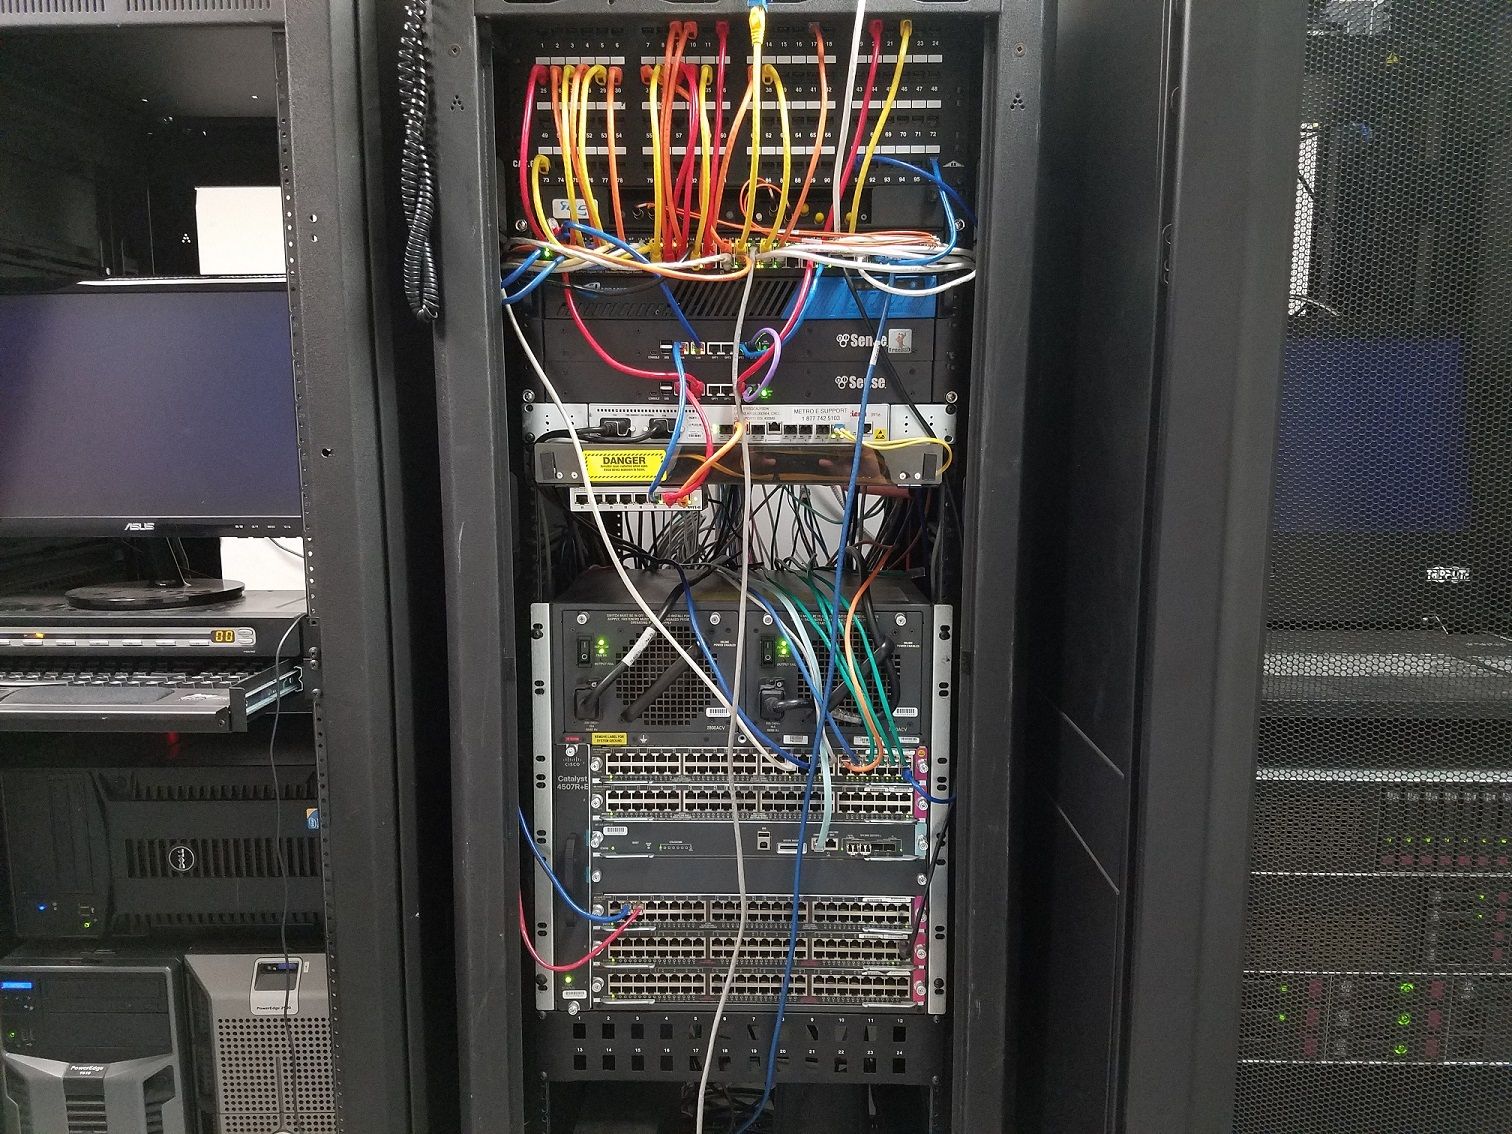
SG-8860s in HA =)
-
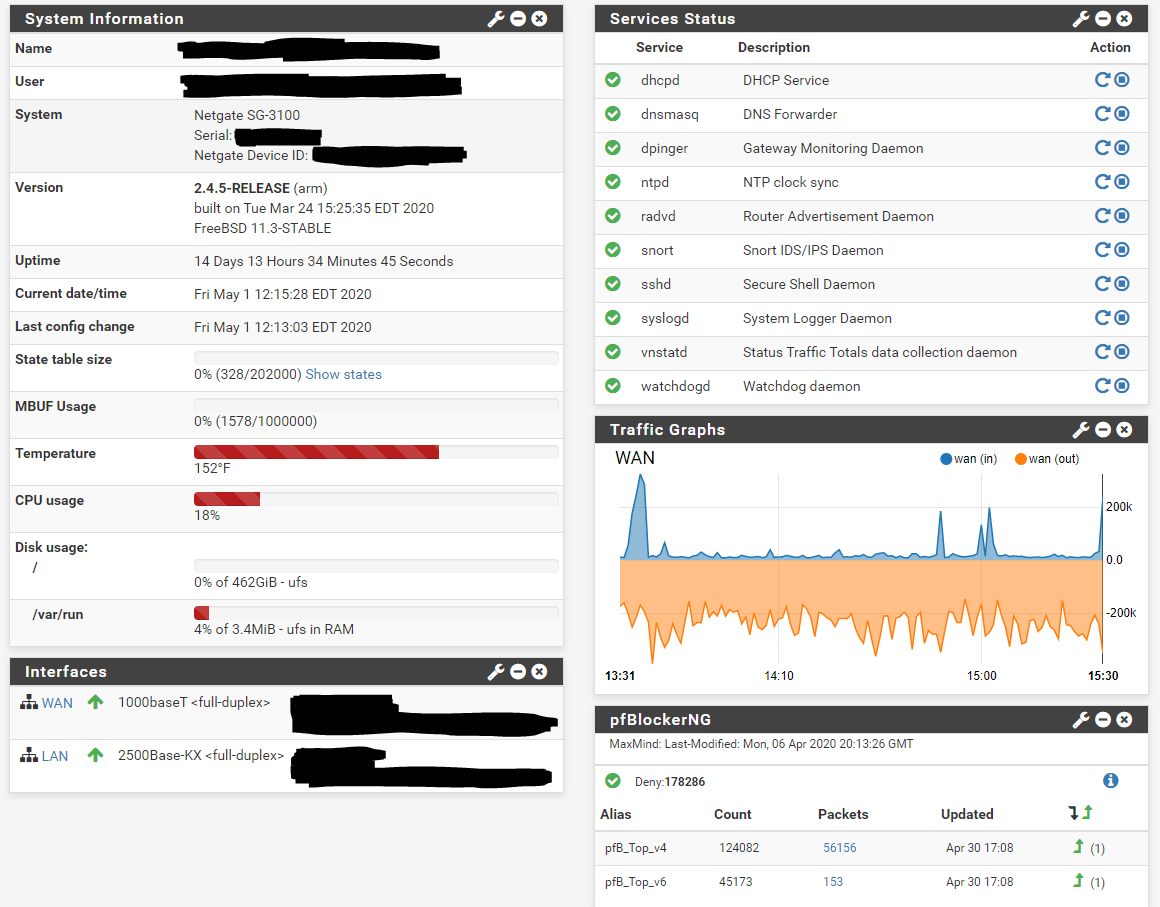
SG-3100
